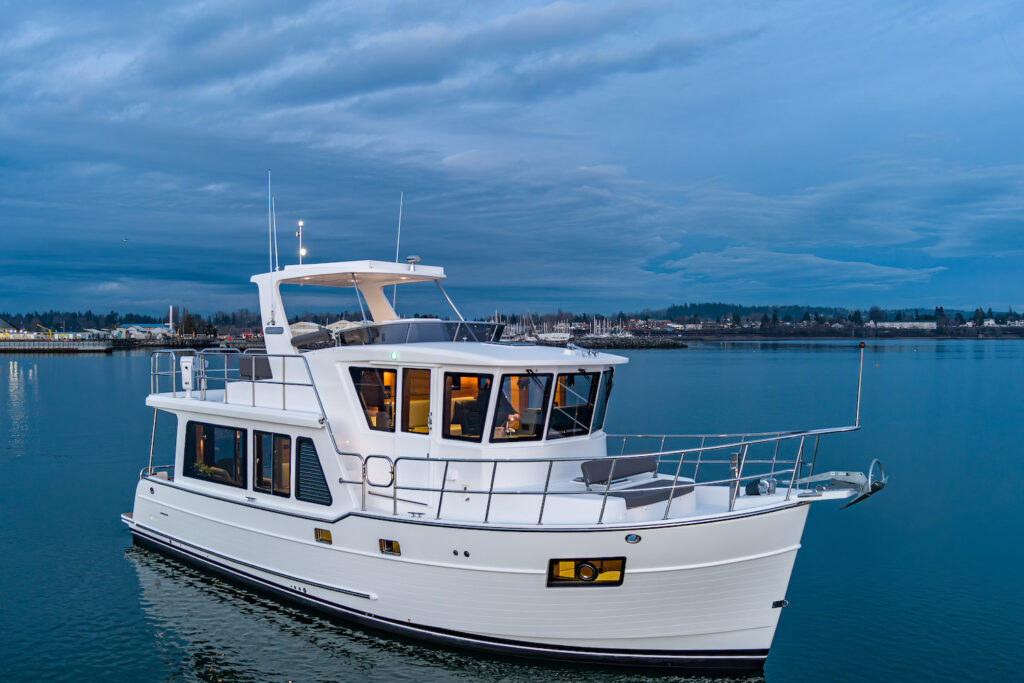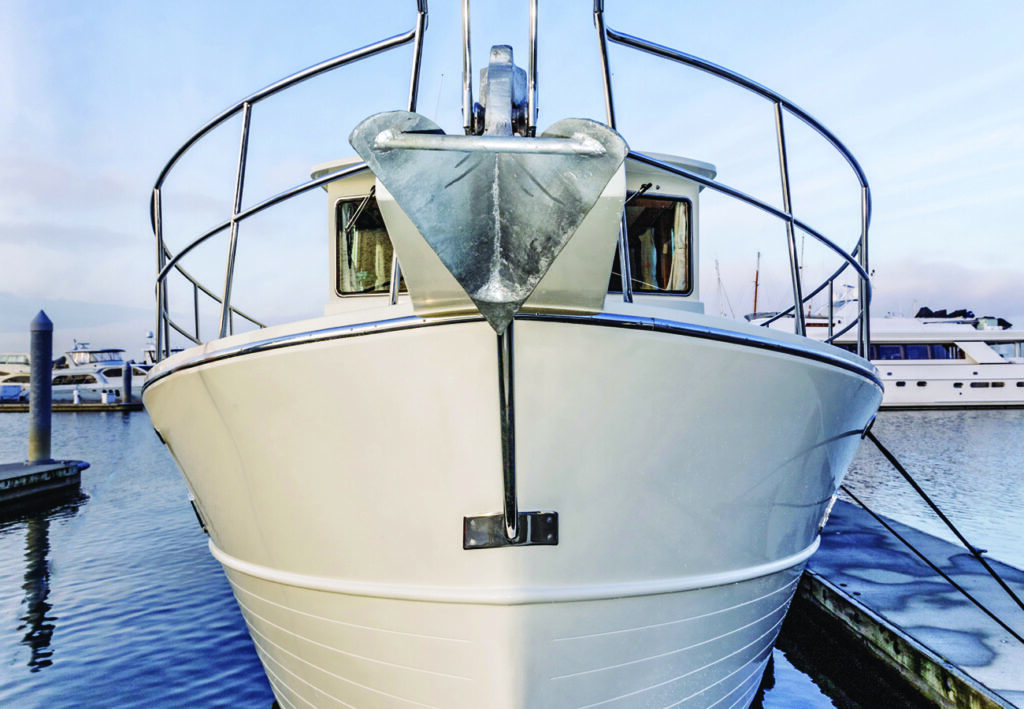
A yacht hull is not a single uniform surface. It is an assembly of distinct materials and coatings, each exposed to different environmental stresses and requiring different care. Above the waterline, durable cosmetic finishes resist UV radiation and salt spray. Below the waterline, specialized barrier systems and antifouling coatings protect the underlying fiberglass from moisture ingress and marine growth.
We encourage owners to plan hull care around the actual construction and coating records. Managing these surfaces effectively comes down to identifying what is applied to your vessel, choosing methods that preserve those coatings, and using haul-outs to spot issues before they become expensive repairs.
Identify Hull Material and Coating
On a fiberglass yacht, the laminate, topside finish, underwater coating, and any barrier system have different roles. Other hull materials require their own protection methods. Confirm the actual construction and coating system from the boat’s records before selecting a cleaner or planning recoating.
Where the boat is kept, how often it moves, the coating type, and storage conditions all influence fouling and coating wear. Use actual observations and the coating manufacturer’s guidance when planning care rather than assuming a geographic location dictates one schedule.
Before scheduling bottom work, confirm what is already on your hull. Check previous yard invoices, coating receipts, or equipment logs. Applying a new coating without knowing the existing chemistry often causes adhesion failure, lifting, or chemical incompatibility.
Choose a Responsible Cleaning Approach
Cleaning should remove dirt and marine growth without stripping the underlying protective layers. Aggressive cleaning accelerates wear, requiring premature repainting and compounding maintenance costs.
Topsides and Gelcoat
Use the cleaner and tools recommended for the identified topside finish. Rinse away loose salt and grit gently, and avoid experimenting with stronger products when a stain persists.
Confirm compatibility before using a wash, stain treatment, compound, wax, or sealant. A product suitable for gelcoat may not suit painted topsides or nearby clear plastics.
Underwater Running Gear and Antifouling
Underwater cleaning must match the actual coating and local requirements. Ask the coating supplier and service provider which methods are compatible and whether cleaning afloat is permitted. Have the provider specify a compatible cleaning method for the coating. Keep observations of fouling and coating condition so the provider can plan an appropriate approach.
Plan Haul-Out Inspections and Coatings
Haul-outs offer an uninterrupted view of the underwater running gear, through-hulls, and bottom paint. Rather than hauling on an arbitrary calendar schedule, base your timing on operational hours, paint condition, fouling intensity, and seasonal storage plans.
| Area | Useful observation | Planning question |
|---|---|---|
| Topsides | Stains, scratches, chalking, or impact marks | Which finish and compatible care method apply? |
| Underwater coating | Fouling, flaking, or exposed areas | Does the product guidance call for cleaning, preparation, or recoating? |
| Running gear | Visible damage or unusual corrosion | Which specialist inspection is needed? |
| Hull and fittings | New cracks, blisters, leakage, or impact history | Should a surveyor or repair specialist assess the condition? |
Inspection subjects
Ask the yard to identify inspection priorities before the haul-out. Record visible damage, coating loss, anode condition, and any history of impact or leakage. Changes in metal color, bearing movement, or hull blistering need interpretation by an appropriate specialist; an owner observation alone does not establish the cause or repair. Follow the actual anode and installation guidance for replacement criteria rather than assuming one percentage applies to every system.
This yard period is also an ideal time to step inside the boat and complete tasks outlined in standard spring commissioning guidance. Inspect bilge pumps and float switches to ensure automatic dewatering systems function before launch. Trace internal plumbing lines to inspect hoses and leaks at accessible hose and seacock connections. Finally, inspect shore-power cable ends and vessel inlet pins for signs of heat discoloration or carbon burns. If you discover charred pins or melted casings, leave the circuit de-energized and hire a qualified marine electrician to replace the components; external inspection helps you catch electrical fire hazards early, but it is not authorization for amateur high-voltage electrical repairs.
Coating compatibility and timing
Do not assume your bottom needs a full sanding and repainting every season. Have the service provider assess the condition and identify the existing coating. Compatibility, required preparation, coat thickness, drying time, and launch windows come from the selected product’s data sheet.
Consult the manufacturer’s antifouling product instructions for guidance on:
- Surface Preparation: Recommended sanding grits, dewaxing procedures, and dust removal.
- Compatibility Profiles: Whether the new paint can bond directly over clean existing coatings or requires an intermediate tie-coat primer.
- Application Windows: Specific minimum and maximum overcoat times based on ambient temperature and humidity, as well as minimum dry times before launching.
Following product-specific data sheets helps the yard plan the work around the product’s requirements.
Respond to Damage and Recurring Problems
Not every hull blemish requires a major yard project, but ignoring deep structural issues can compromise safety. Distinguishing between cosmetic flaws and structural problems keeps repairs sensible and effective.
A surface chip, deeper gouge, new crack, or blister does not carry the same implication on every hull. Document its location and history, and obtain assessment when its depth, cause, or significance is uncertain. After a grounding or substantial impact, arrange a competent inspection before assuming the damage is cosmetic. Avoid opening blisters or grinding laminate merely to investigate it.
Keep a dedicated hull log. Photograph any cracks, deep scrapes, or localized blistering alongside a ruler for scale. Note the date, location on the hull, and physical characteristics. Ask the specialist when reassessment is appropriate; do not defer a potentially serious concern until the next scheduled haul-out. Clear photographic records help shipwrights provide realistic repair quotes and prevent redundant work.
Integrating these inspections into your regular seasonal yacht care helps coordinate how running gear, through-hulls, and structural coatings are maintained systematically alongside engines and onboard systems. Factoring recurring bottom work, haul-out fees, anode sets, and running gear service into your long-term maintenance budgeting helps make planned work and potential contingencies visible in the ownership budget.
Action Plan for Owners
To manage your hull care confidently:
- Locate your hull specifications: Gather past yard invoices, owner’s manuals, or coating datasheets to identify your current antifouling paint and topside finish.
- Review cleaning tools: Check that each cleaner and tool is compatible with the finish or coating it will touch. Set aside products whose suitability is uncertain.
- Draft a haul-out checklist: Before your next haul-out, write down the specific underwater targets you want the yard to assess, including bearings, anodes, through-hull fittings, and running gear condition.
- Create a hull log: Keep a small folder onboard with clear photos and notes of any chips, cracks, or blisters so you can track changes over time and communicate clearly with your boatyard.
Sources